Ignite Your Bread Magic: Master the Art of Homemade Sourdough Starter in Just a Few Simple Steps!
Hey there, lovely readers! In some of our blog posts, you'll find affiliate links to products we genuinely adore. When you make a purchase through these links, we earn a small commission, helping us keep our blog running and sharing valuable content with you. Thank you for your support!
Are you ready to try your hand at sourdough baking but don't know where to start? Look no further than this beginner sourdough starter recipe. With just a few simple ingredients and a bit of daily care, you'll be on your way to creating delicious sourdough bread, pizza crusts, and more. Let's get started!
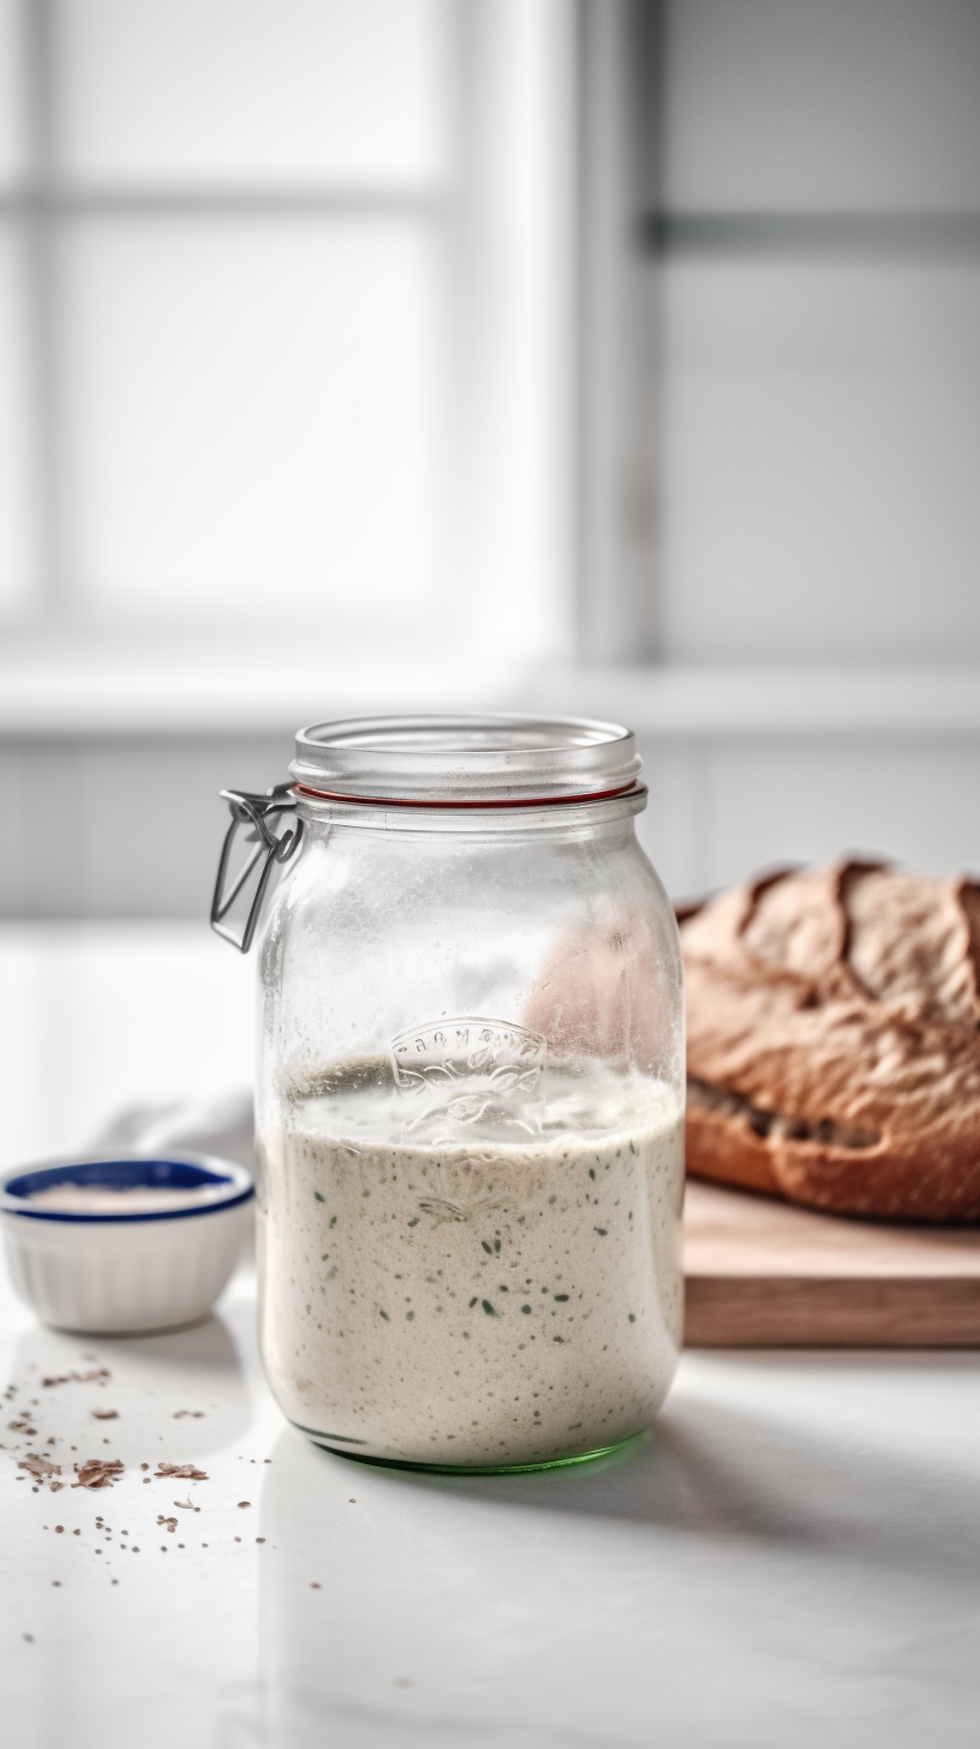
First things first, let's talk about what a sourdough starter actually is. Essentially, it's a mixture of flour and water that has captured wild yeast and bacteria from its surroundings, creating a live, bubbling culture. This culture is what gives sourdough bread its distinct tangy flavor and chewy texture.
Making a sourdough starter takes a bit of time, but the process itself is quite simple. Plan to allow at least a week to get your starter up and running. Once it's established, you'll be able to use it for all sorts of sourdough baked goods.
To make your starter, you'll need just two ingredients: flour and water. You'll need to use unbleached, all-purpose flour, as it contains more of the natural yeasts and bacteria needed to get the culture going. You'll also want to use filtered or spring water, as chlorine in tap water can interfere with the fermentation process. Our go to unbleached, all purpose flour is THIS FLOUR. After dong some research we have ordered and will be soon trying THIS ONE (we will keep you posted on how it goes and add a link to a secondary post about what we think.)
To start your starter, mix 1/2 cup of flour with 1/2 cup of water in a glass jar (this is considered Day 1). We use these larger mason jars, due to making larger batches and like to leave lots of room for expansion. Cover with a breathable lid, such as a cloth or paper towel secured with a rubber band. If you don't have a breathable cover you can just put the regular screw lid on just being sure not to tighten the lid all the way. Using an additional rubber band or hair elastic like we use place it around the jar to the top of the starter so you can note how much it grows over the next days. You will move this rubber band daily after feeding. This is to measure the start's growth as it rises. Leave the jar in a warm spot in your kitchen and let it do its thing. Yes it is literally that easy! Don't overthink it like I did!
Let your starter FULLY rest the remainder of Day 1 & Day 2. For the first few days, nothing much will happen. Then the next few days, you'll need to "feed" your starter daily. Simply discard about half of the starter (I recommend waiting until after day 7 to use your discard for other recipes, BUT you can use it to make sourdough pancakes or crackers, or you can compost it), and then mix 1/2 cup of flour with 1/2 cup of water into the remaining starter. This will keep the culture healthy and growing. I usually start the feeding process on Day 3 and repeat the feeding process daily on days 4,5 & 6 as well.
It's important to note that during the first couple of days and over the next week, your starter may produce a bit of brown liquid on top. This is called "hooch," and it's perfectly normal. You can either discard it or mix it back into the starter, depending on your preference. It might smell a bit funky, but that's completely normal. Embrace the tangy adventure of sourdough baking and trust me it is worth it in creating some mouthwatering sourdough bread, pizza dough, pancakes, waffles and so much more! If you find that your starter is producing a lot of hooch, it may need to be fed more often.
After about 3-4 days of feeding your starter, you should start to see some activity in your starter. It will become bubbly and start to smell a bit sour. This is a good sign that the wild yeast and bacteria are doing their job. By Day 7 you should be ready to use your sourdough! Please note that depending on the temperature in your home, it could take up to 14 days until you have starter that is ready to use, BUT so long as you have kept your starter in a warm place and have fed daily on days 3,4,5 & 6 it should be ready to use.
Just to reiterate:
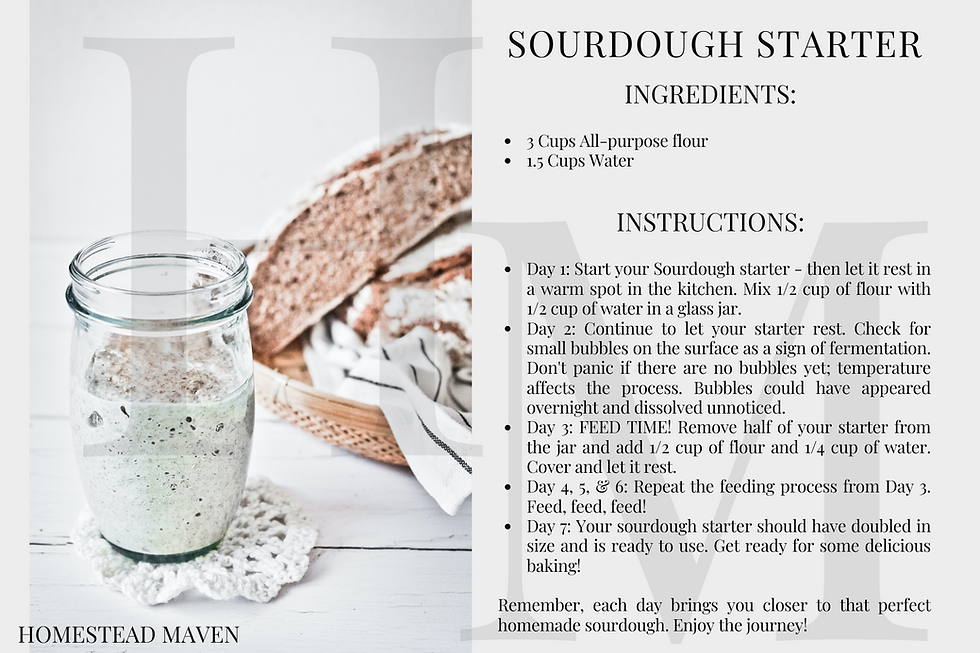
Day 1: Start your Sourdough starter - then let rest in a warm spot in the kitchen.
Day 2: Continue to let your starter rest. Today you can check to see if any small bubbles have appeared on the surface. Bubbles are an indicator the fermentation process has started, but if you don't have any bubbles don't panic depending on the temperature of the area your starter is in effects the length of this process. Bubbles also could have appeared overnight and dissolved without you noticing.
Day 3: FEED TIME! Feed your starter today! Remove about 1/2 of your starter from the jar and add 1/2 cup of flour and 1/4 cup of water. (I like to use my scale and do these measurements in grams. If you are also using grams its 60g flour to 60g water.) Cover it back up and let rest!
Day 4, 5, & 6: Repeat the process of Day 3! FEED FEED FEED!
Day 7: Your sourdough starter should have at least doubled in size and it should be ready for use!
To use your starter simply scoop out the amount of starter you need for your recipe, and then "feed" the remaining starter as usual. Making a sourdough starter can seem intimidating, but with a bit of patience and care, it's an easy process. With your own sourdough starter, you'll be able to create delicious, tangy breads, pizzas, and more.
Commonly Asked Questions:
How will I know when is my sourdough starter ready to use?
There are a few common signs you will see in your starter such as it being fluffy in texture, it will smell "better" (not anything like you will notice in the first few days of starting it), there will be bubbles both small and large on the surface as well as throughout your starter and lastly it will double in size. Be sure to use the elastic or rubber band trick I mentioned above to be able to se the growth.
How can I store my starter?
You can store your starter two different ways, refrigerated or at room temperature. If you decide to store it at room temperature (which I do often because I bake at least 2x per week) you can feed once a day like you did on days 3-7. If I don't plan on using that week I will store in the refrigerator. To store your starter in the refrigerator, be sure to cover it with a lid and feed it once per week to help it maintain its strength and return it to the refrigerator. When you are ready to bake it you will just need to feed your starter at room temperature as need to "wake" it back up.
Can my sourdough starter be made with whole wheat, rye, spelt or bread flour only?
Yes it sure can! Just adjust the texture accordingly by adding extra water if too thick.
I have seen others start with whole wheat flour then switch to all purpose flour for feedings why?
Some use whole wheat flour to get a kickstart on the fermentation process. If you don't have whole wheat flour that is totally fine you can just use your all purpose flour instead. Either way the starter will be fine. Whatever works for you and your family is best for your family.
Why do I need to remove and discard a portion of the starter before feeding it?
By removing and discarding some of the starter before feeding it you are refreshing the acidity levels and it aid in controlling the overall growth in size. With that being said I have seen plenty of people who do this without having any discard. (Stay posted for a later post on me testing out that process)
Why do you recommend waiting to use the discard after day 7 for other recipes?
I recommend waiting to use your discard from later in the starter process because it tends to be icky discard in the beginning in my opinion. BUT everyone has a different experience and if you think your discard is usable use it! I like to through mine in the compost bin from the first 7 days - then the starter that I use further down the line I love to use for things such as discard pancakes, waffles, banana bread, pizza crust, crackers and so much more!
Comments