Nurturing Curiosity and Delicious Bites: A Science-Filled Journey into Homemade Sourdough Starter for Kids
Hi homeschool friends! I am beyond excited to be building out this part of my blog! I absolutely love homeschooling, I love to give people entirely too much information about homeschooling, and the benefits! I am so happy to have you here! If you have any questions or would even just like to chat feel free to send me an email, I love making new friends!
Without further ado let's get started! Are you ready for a fantastic kitchen adventure with your little ones? Today, we're diving into the magical world of sourdough bread, and together, we'll create our very own sourdough starter. Get ready to mix, observe, and taste the amazingness of homemade sourdough bread!
What's the Deal with Sourdough Starter?
Okay, let's have a quick chat about sourdough bread. It's not your ordinary bread. It's got this incredible tangy flavor and a chewy texture that makes your taste buds do a happy dance. But have you ever wondered what makes it so special? Well, it all starts with a magical thing called a sourdough starter.
Imagine a little mixture of flour and water that captures these wild yeast and bacteria from the air. They have their own little party, bubbling and fermenting, creating a living culture that gives sourdough bread its mouthwatering taste. And guess what? Today, we're becoming sourdough scientists and making our very own starter!
Making the Sourdough Starter:
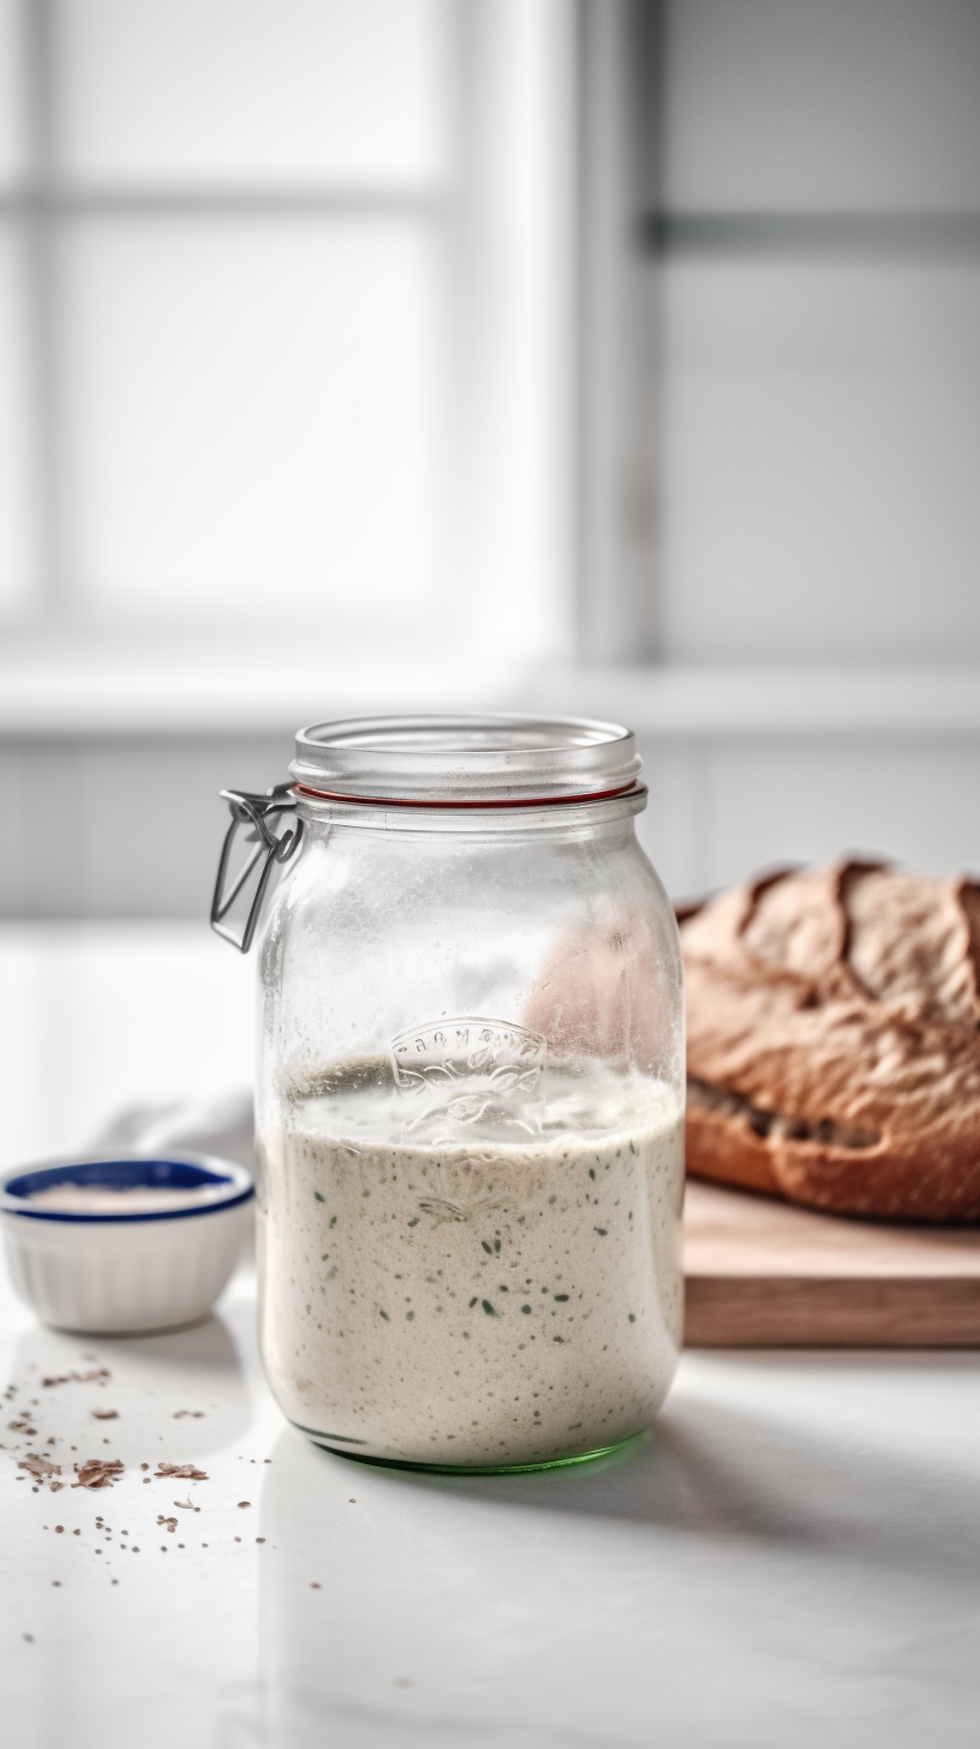
Alright, let's gather our materials first. You'll need some all-purpose flour (about 1/2 cup), filtered water (same amount), a glass jar, and a breathable lid like a cloth or paper towel. I like to use cheese cloth or just our kitchen tea towel. You can also use a mason jar cover just gently place it on top rather than screw it on. Oh, and don't forget a rubber band or hair elastic to measure your starts growth.
Step 1: Take that 1/2 cup of flour and pour it into the glass jar. Let your little one feel the softness of the flour and enjoy the texture.
Step 2: Together, measure the same amount of water and add it to the jar. Give it a gentle stir until the flour and water become like a thick paste. Allow your little one to do the stirring. This is the starting point of our sourdough journey!
Step 3: Grab that breathable lid and cover the jar. Now, find a cozy spot in the kitchen where our starter can hang out and do its magic.
Observing and Feeding the Starter:
Over the next few days, we're going to be super curious and feed our starter to help it grow and develop its special tangy flavor. Every day, let's move that rubber band or hair elastic to see how much our starter has grown. It's like measuring its progress!
On Day 3 and the days that follow, we'll do some feeding magic. We'll remove half of the starter, add fresh flour and water, and give it a good mix. This is like giving our starter a big, delicious meal to keep it healthy and happy.
Signs of Readiness:
After about 3-4 days of feeding and watching our starter closely, it'll start to show signs that it's ready for some serious baking action. It'll become all bubbly and might even have a slightly sour smell. Show your little one pictures of those bubbly starters and talk about how they double in size.
Remember, it can take up to 14 days, depending on the temperature, but as long as we've followed the steps, our starter will be ready to unleash its flavorful powers!
You rock, amazing bakers! You've learned the secrets of sourdough bread and created your very own sourdough starter. Just a little patience and a lot of observation will reward you with incredible flavors. While we wait for our starter to mature, let's dream about all the mouthwatering things we can make with it—yummy bread, pizza crusts, pancakes, and so much more!
So, gather your little kitchen helpers and get ready for an unforgettable sourdough adventure. It's not just about baking bread; it's about discovering the wonders of science and creating lifelong memories together. Happy sourdough making, and let the tasty adventure begin!
To find our full lesson plan keep scrolling! You can also download our full lesson plan from our our Shop!
Subject: Science and Life Skills: Introduction to Sourdough Bread for Kids
Objective: By the end of this lesson, your child will understand the basic concept of sourdough bread and learn how to create their own sourdough starter.
Skills Developed:
Scientific observation and exploration
Measuring and following instructions
Patience and perseverance
Understanding the concept of fermentation and live cultures
Critical thinking and problem-solving
Materials:
1/2 cup of all-purpose flour
1/2 cup of filtered or spring water
A breathable lid (e.g., cloth or paper towel)
Rubber band or hair elastic
A warm spot in the kitchen
Lesson Plan:
Introduction (5 minutes):
Introduce the concept of sourdough bread to your child, explaining its unique tangy flavor and chewy texture.
Show them pictures of sourdough bread or bring some examples if available.
Engage them in a conversation by asking if they have ever tasted sourdough bread before and what they think makes it different from other bread.
What is a Sourdough Starter? (10 minutes):
Explain that a sourdough starter is a mixture of flour and water that captures wild yeast and bacteria from its surroundings.
Use simple language to describe how the wild yeast and bacteria create a live, bubbling culture, which gives sourdough bread its unique flavor and texture.
Show them the glass jar and explain that this is where we will create our sourdough starter.
Making the Sourdough Starter (15 minutes):
Ask your child to help measure 1/2 cup of flour and pour it into the glass jar.
Together, measure 1/2 cup of water and add it to the jar.
Explain that this is the first step (Day 1) in making the sourdough starter.
Show them how to cover the jar with a breathable lid, such as cheese cloth or a tea cloth, and secure it.
Place the jar in a warm spot in the kitchen and explain that we will let it rest and observe what happens over the next few days.
Observing and Feeding the Starter (10 minutes):
Explain that for the next few days (Day 2 to Day 6), we will feed the starter daily to help it grow.
Show them the elastic or rubber band around the jar and explain that we will move it daily after feeding to measure the growth of the starter.
Discuss the appearance of "hooch" (brown liquid) that might form on top of the starter and explain that it's normal.
Explain that on Day 3 and for the following days, we will remove half of the starter, add fresh flour and water, and mix it.
Encourage your child to help with these steps, emphasizing the importance of feeding the starter to keep it healthy and growing.
Signs of Readiness (5 minutes):
Explain that after about 3-4 days of feeding, the starter will become bubbly and smell a bit sour.
Show them pictures of bubbly starters and describe the signs of readiness, such as doubling in size.
Mention that it can take up to 14 days, depending on the temperature, but as long as they have followed the steps, it should be ready to use.
Conclusion (5 minutes):
Summarize what you've learned and review the steps of making a sourdough starter.
Encourage your child to be patient and observe the changes in the starter over time.
Discuss the exciting possibilities of using the sourdough starter to make delicious bread, pizza crusts, pancakes, and more.
Extension Activity:
Challenge your child to document the growth of their sourdough starter through drawings, photos, or a journal. This will further enhance their observation skills and provide a record of their sourdough journey.
Remember to enjoy the process together, celebrate the small achievements, and savor the delicious rewards of homemade sourdough bread.
Comments